
USING EXPANDED CLAY BALLS
This Article on Expanded Clay Balls has been revised because I have found that using RESERVOIRS in POTS and SAUCERS was not satisfactory. After three years of experimenting growing Cattleyas in clay balls with a reservoir, in the pot or with a saucer, I have found that the root system deteriates when they reach the water reservoir. It is not immediate, but a gradual loss of the roots occurs. (Disappointing Result) I did have a few that had no problems and grew well. (Genetics maybe?)
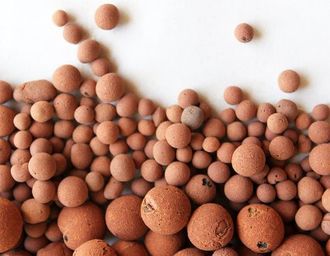
Firstly, what are expanded clay balls and how are they made. They are made from top quality clay medium. The clay is made into clay pellets and is heated to 1200/2000degress Fahrenheit. The interior is expanded into a sponge-like form, which provides exceptional absorption of water and nutrients, while the outer is more densified, providing strength, while limiting salt build-up. They are inorganic, sterile and will not compact, de compose or harbour mould or disease. Its regular shape promotes good air circulation in the root zone, which creates a stronger root system and a healthier plant. It allows humidity around the plant.
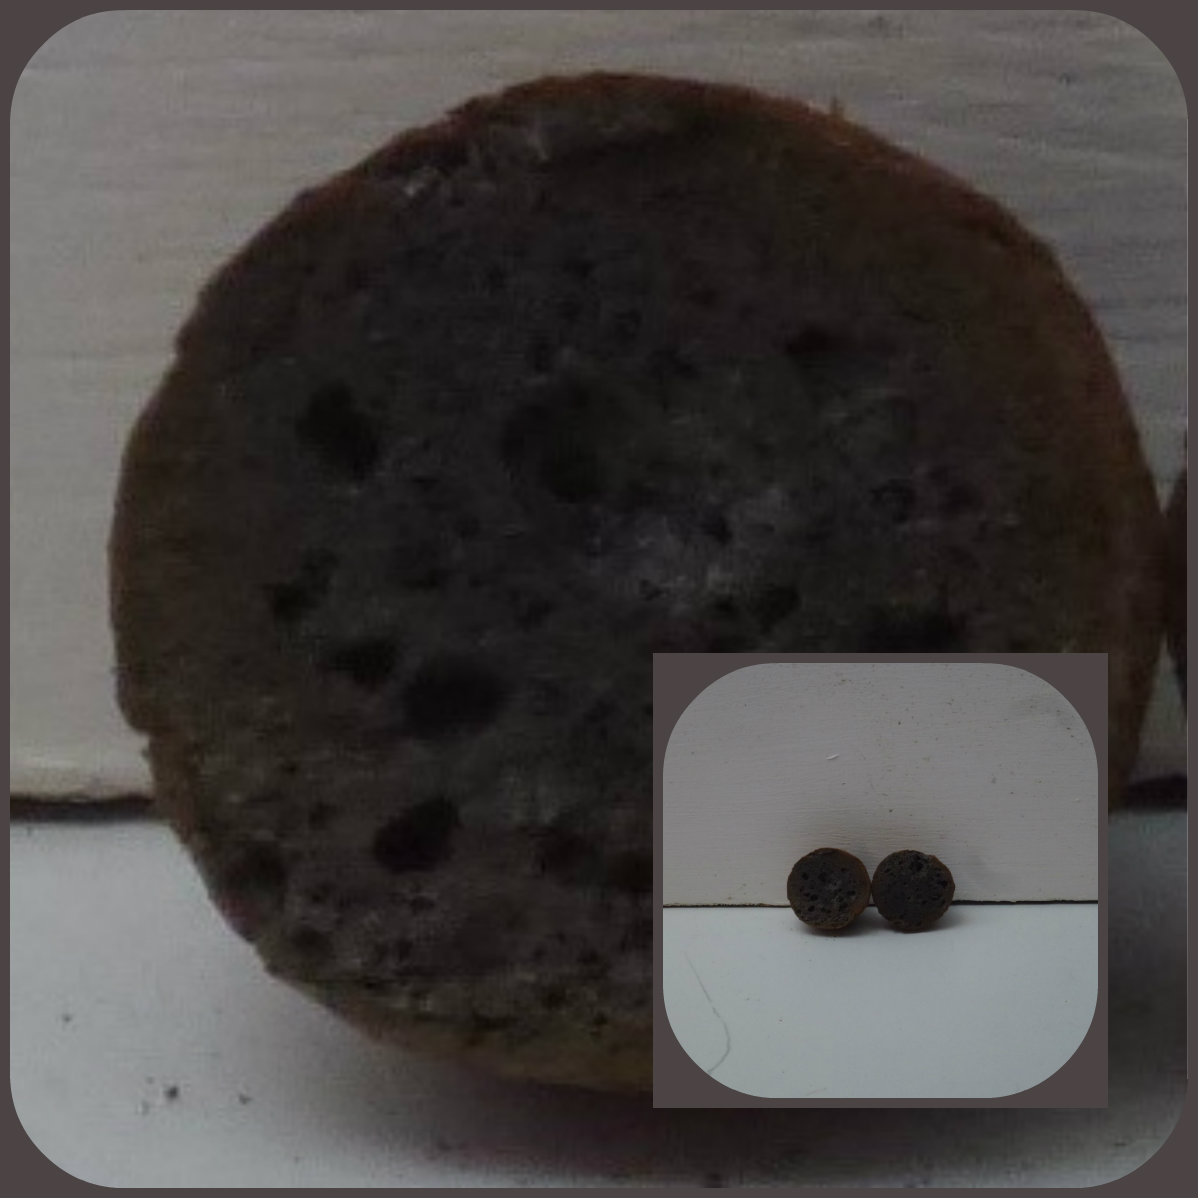
Cross Section of Clay Balls
DIRECTION FOR USE
Prior to first use, rinse the clay balls with clean water to wash any dust particles, which have built up during shipment. I then soak the balls in a mixture of Algonox (5mls to a litre) and Calcium Nitrate (1 gram to a litre) for one hour, they are then ready to use.
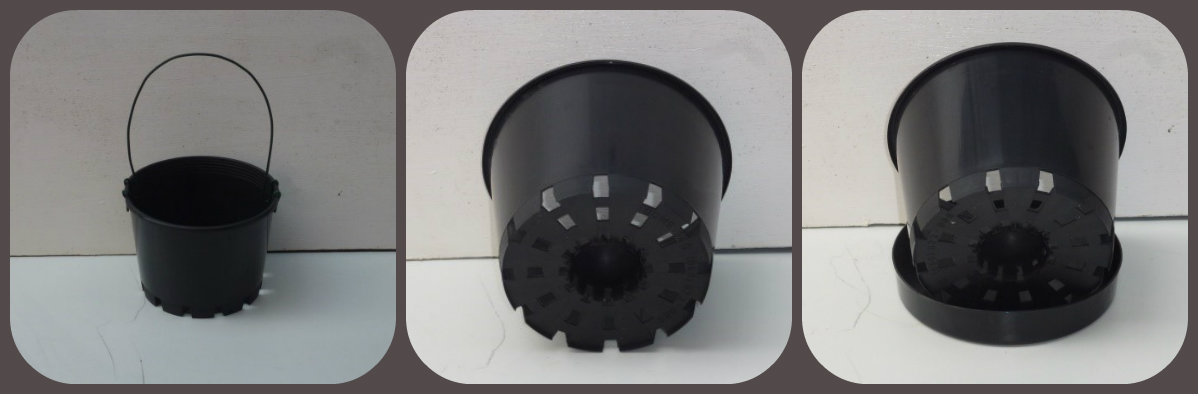
Use a pot with drain holes in base, put a layer of stone in pot like River Gravel for weight, add plant and balls and grow as with any other potting material. You will need to stabilise the plant, as the clay balls are too light to hold the plant, until the new roots secure it. I use a wire loop attached to the sides of the pot, as per photo, secure the plant to the loop. I finish the potting process with some limestone on the top of the clay balls.
I do not use clear pots as I have found that this can cause algae to form in the pot. When repotting an orchid which is going into expanded clay balls, as with all plants, remove all dead and damaged roots so they will not cause a wet mushy area.
Expanded clay balls can be reused, if all material is removed and they are soaked in TRISODIUM PHOSPHATE for two hours. They then need to be rinsed, then soaked in clean water for 1 hour and rinsed again. Then they can be reused.
AVAILABLE SIZES of CLAY BALLS
8mm-16mm-30mm -30mm Elongated
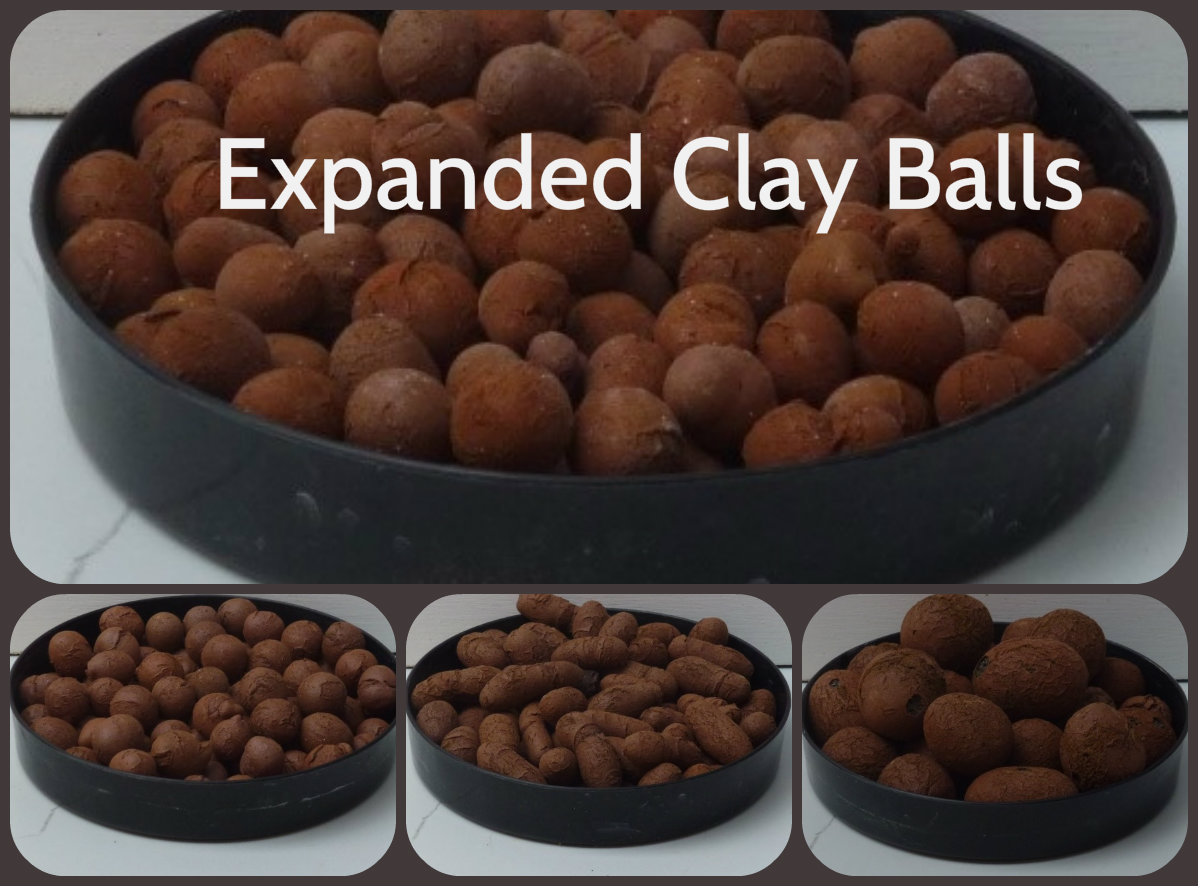
These balls are available in 50litre bags
PROS and CONS USING EXPANDED CLAY BALLS
The balls are very light and plants will need support until they are well established. To balance the pot, I put some stones like River Gravel in the bottom of the pot.
If you water with force you can blow the clay balls out of the pot. To stop this, I put some limestone on the top of the clay balls.
The price is comparable to other potting materials. One big advantage is the ease to clean and reuse after sterilizing with Trisodium Phosphate
Because they are round there is
- Little chance of the airways becoming blocked
- Good ventilation and passageways for the root system
To start using expanded clay balls, use them in a standard pot, with good drainage in the bottom and treat them the same as most potting materials.
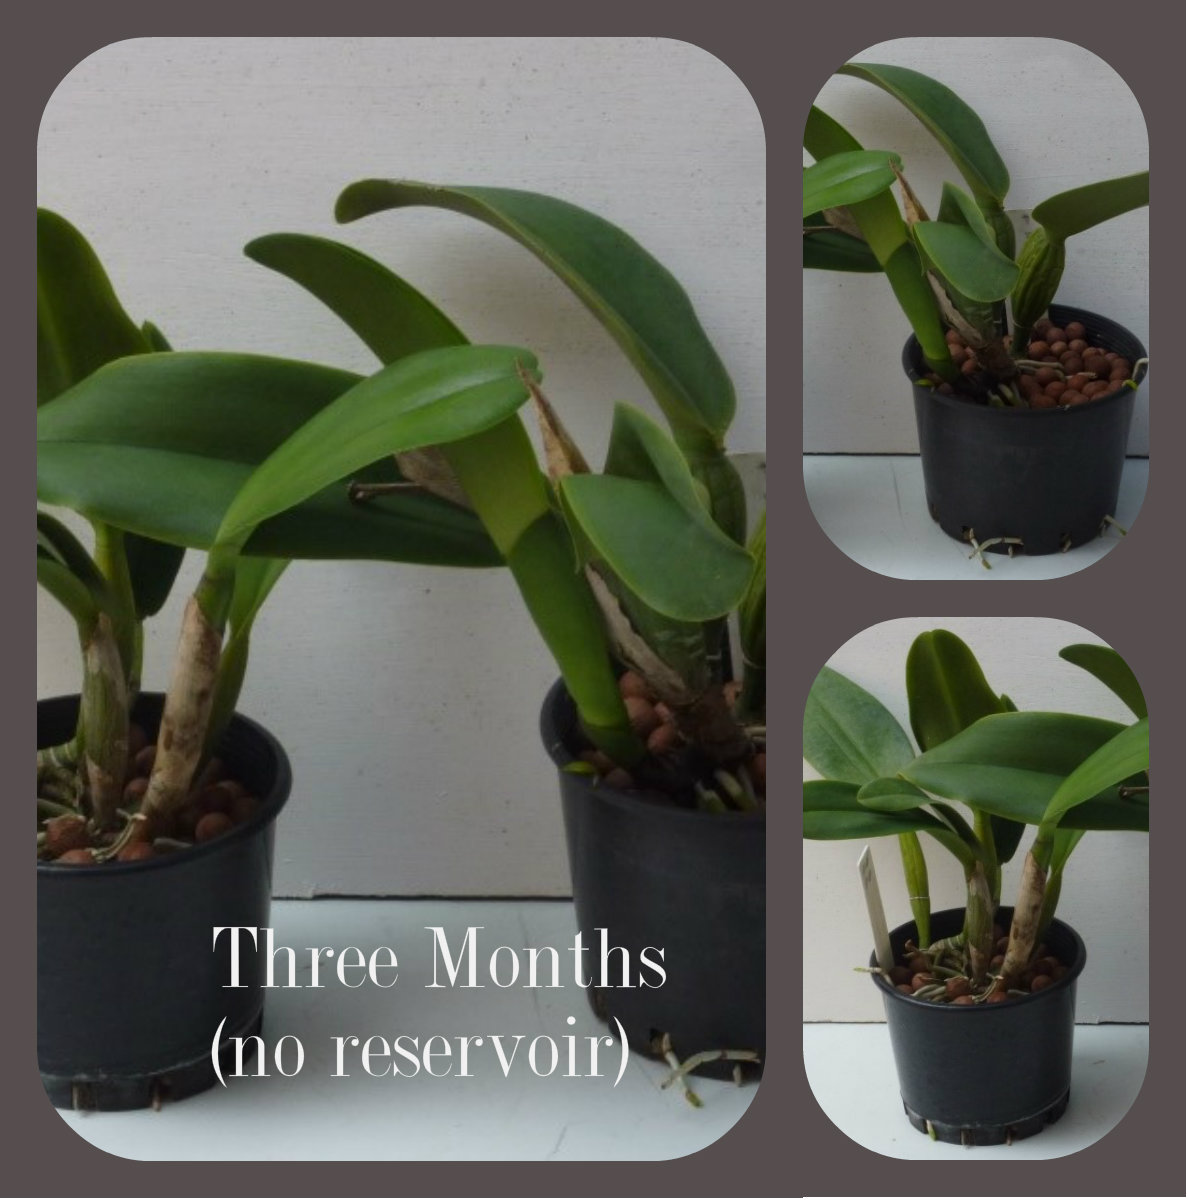
After repotting I watered the plants in September every three days. Then from November every day.
The roots and new growths grew very well. Some of the plants have flowered since being repotted, and the flowers are what you would expect after being repotted. When the plants are established, the flowers will improve in substance and colour.
Expanded Clay Balls are available from: sales@accenthydroponics.com
(02) 96687977
![]()
9,335 total views, 5 views today