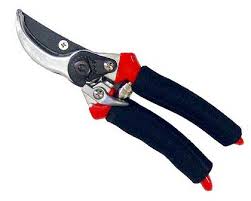
Make sure they are sharp and have been sterilised in Trisodium Phosphate for at least 20 minutes, to kill viruses and diseases, which are then rinsed in clean water before using. After dividing the plant, rinse again to remove sap and tissue, then replace in the Trisodium Phosphate for another 20 minutes.
PLANT DIVISION
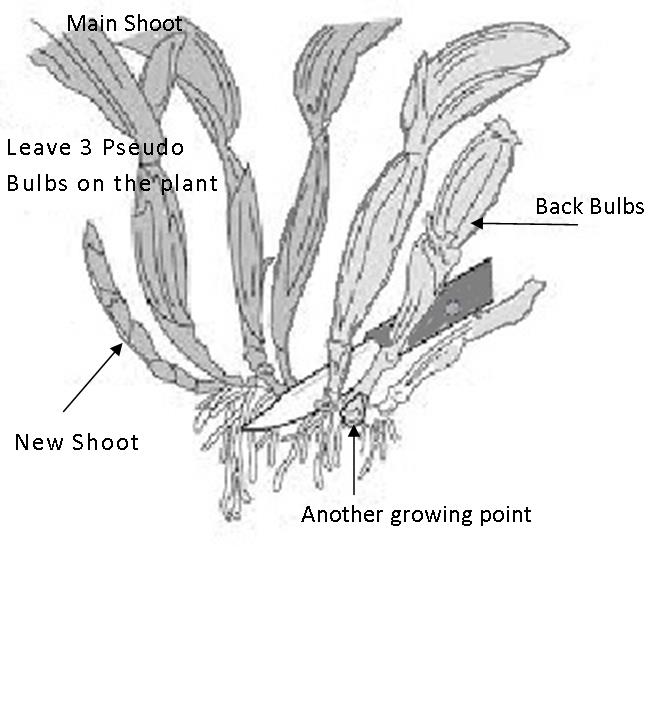
Plant divisions are usually of 3 or 4 bulbs. Some mini cattleyas will have more because they branch frequently. With sterilised secateurs, cut the rhizome 3 mature growths back from the front, cut through the roots and separate the divisions. Do not pull the roots apart as you will damage them more, than if you cut them. Cut out any dead or badly damaged roots, remove any old potting material, I leave any potting material that is securely held by healthy roots, rather than remove it and damage the roots.
PLANT SUPPORT
There are various ways of supporting a plant when it is being repotted. Plants that require help are those with a poor root system, tall top heavy plants and those that have a lite-weight potting material.
1. I use a plastic coated wire. I make a clip as shown on each end of the wire, which is curved to suit the plants height. The clips are compressed onto the pot with pliers and the plant is secured to the loop.
2. Using the same wire, this time with only one clip on one end, the wire is bent across the top of the potting material, then bent vertical and attached to the plant. It is a good wire for using on plants that are being taken to shows, to stabilise the one growth and the flower spike.
3. Using a four pronged plastic hanger, which clips onto the rolled-over edge of the plastic pot, you have four places to stabilise the plant. Also you can hang the plant.
4. Using long meat skewers or small doweling imbedded in the potting material, you can use whatever number is required to stabilise the plant.
5. I use an aluminium wire, for a bit more strength, to make this one. Make a circle at one end that will fit inside the bottom of the pot, with the rest of the wire in the vertical position. Place it in the pot, pot the orchid and fill in the potting material. You can then bend it to fit onto the plant. If necessary it can be tied to the side of the pot.
6. Face the plant to the east on the bench. This will stop flowers from growing into the foliage.
WATERING
Replace the newly repotted plants in the shade house grouped together; watering these plants will be different to established plants, only for a couple of weeks. They need lighter watering, every two days, but if the weather is hot, a light misting on alternate days. After two to three weeks water as for all plants. Place the front of the plant facing the East,(morning sun) as this will stop the new growths and flowers from becoming entangled in the existing growths and leaves.
PLANTS FOR RE-POTTING
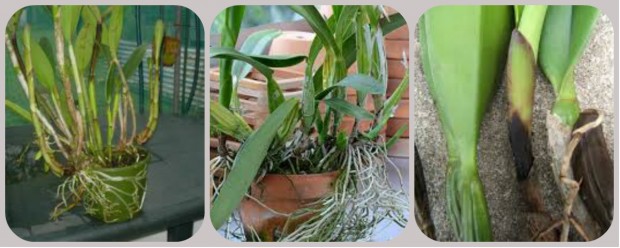
Where the Rhizome was cut, it should be a clean white colour, if stained a grey/black colour, the rhizome has fungal or bacterial infection. Cut the infected bulb off, if still not white, the plant is probably beyond saving and should be discarded.
Once an infection gets into the rhizome it will travel fairly quickly right through. Usual signs are dying bulbs, growths rapidly growing smaller, rhizome turning blackish.
Old dry sheaths should be removed; they can hold water and create fungus and bacteria that could infect the plant. Remove old bracts off the puesdobulbs. (Scale and aphids like to hide underneath them). Be careful not to damage the eyes and new growths when you take them off.
ROOTS
I spray the roots with a mixture of Alginox 2ml and Growth Formula 2ml to one litre of water, this helps to prevent damaged and cut roots from infection, it also helps to restart their growth cycle. Put ¼ Soluble Aspirin in the spray bottle, helps to activate the immune system.
SEALING THE CUT
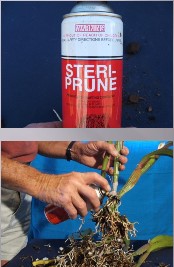
You can use fungicides to seal the cut, but I prefer to use Steri-prune in a pressure can, it dries quickly and there is no chance of cross infection, as it is sprayed on and it also saves time.
Using fungicides, you have to make a paste and apply with a paddle pop stick or knife etc., which then has to be sterilized. The mixture deteriates fairly quickly, once mixed.
RE-POTTING THE DIVISION
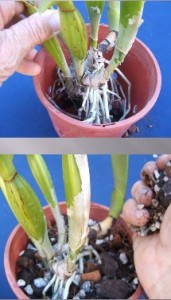
Selecting a pot large enough to allow for 2 to 4 new growths (2 years). Place the plant with the sealed cut against the side of the pot, thus leaving a gap between the plant and the other side of the pot, for the next 2 years of growths.
Previously mixed potting material is added to about halfway up the pot, tap the outside of the pot to settle the mix down among the roots. AddMore potting material, lightly tapping the pot to the level of the plants rhizome. Do not cover the rhizome as it may rot the eyes and new growths.
Do not fill to the top of the pot, leave about 20mm(3/4inch) from the top unfilled, this helps to keep the roots in the pot. Potting material can be firmly pressed into the pot to secure the plant.
![]()
